


Put your awesome UI animations everywhere, like a bawss
[tl;dr: go to the GIF up your videos section]
You’ll certainly have felt the need to show off some animation in your app, at some point. I mean, this is something you probably wanted to do even before Material Design became a thing — and now that it’s here, you should be animating the hell out of your apps.
At Novoda, we also extensively use screencasts in our Pull Requests to showcase new and modified user interaction scenarios, when they involve motion.
Which is all nice and good, but there’s one big freaking problem with it:
Screenshots are just terrible at showing off things that, well, move.
Seeing is believing
Assume you have some really nice UI animation to show off. In our case, assume you just implemented an awesome Toolbar animation, such as Chris Banes’ cool Collapsing Toolbar Title.
You can either show this:
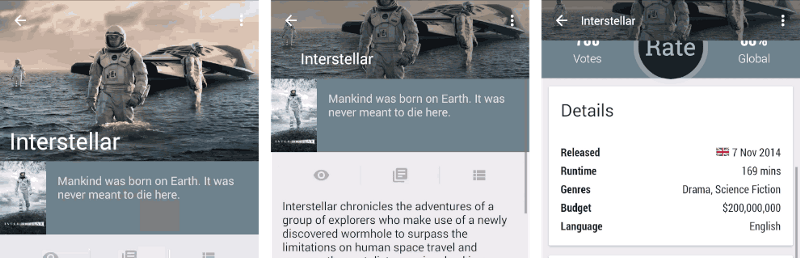
Or this:
Which one works better? The animated one, of course.
Capture the screen
For years, in Android there was no way of grabbing a video screen capture of your device without rooting it. Unless, that is, your device is one of the few with an HDMI output, and you have a (rather expensive) HDMI capture card to record the output. This is of course annoying and probably overkill if you just want a video of what happens on screen.
Then KitKat came along, and it brought with it this little but big feature of allowing tethered screen video capture. It’s now a matter of simply popping up a terminal shell and typing in:
$ adb shell screenrecord --bit-rate 4000000 --size 720x1280 /sdcard/myrecording.mp4
$ adb pull /sdcard/myrecording.mp4
That’s a lot of typing, though. Luckily, Android Studio makes it all even simpler, by doing both the screen recording and the pulling for you:
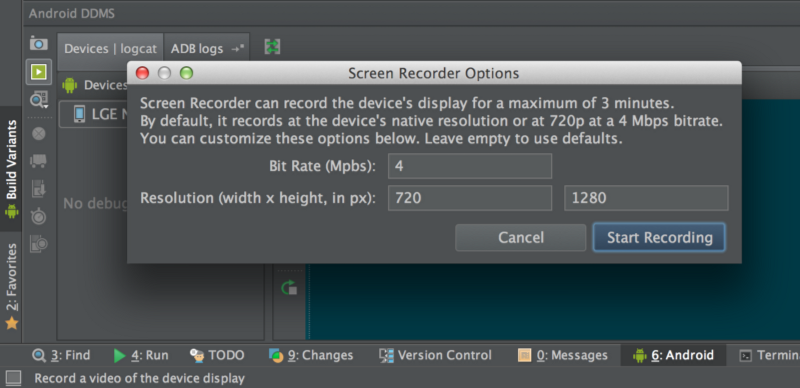
Four clicks and you have a nice mp4 recording on your hard drive.
Fun on Lollipop
Starting from Lollipop, Android even exposes an API to perform untethered video recording — just wait and see how many apps will show up to do exactly this. A few are already there.
Web-readying your animations
HTML5 video playback support for is super cool. You can simply pop your mp4 file into a <video> tag and call it a day. But what if you want to share it on some social network, such as Google+, or embed it on some platform that has no support for embedded videos?
You’ll need the help of your 80s friend, the GIF.
GIF up your videos (aka tl;dr)
There are quite a lot of ways to convert a video into a GIF. Some websites offer to do the job for you, but they’re slow, crappy and full of nasty ads. There are also loads of paid apps that can do the “transcoding”.
But there is one simple, multiplatform and easy solution from one of the best FOSS projects out there, ffmpeg.
Thanks Antonio for sharing the original ffmpeg command line!
To convert a video into a GIF, you simply need to install ffmpeg on your computer (if not already there), and issue this command:
ffmpeg -i source.mp4 -vf \
       scale=[width in px]:-1,format=rgb8,format=rgb24 \
       -r [framerate] \
       destination.gif
A few things to say about this:
- the -1 in the
scaleargument means “keep aspect ratio”; the command above will provide you a fixed width GIF with a proportional height.
If you want a fixed height instead, swap the two dimensions.
My default:scale=300:-1(for portrait) - the
framerateis of course expressed in frames per second. The higher the framerate, the smoother the output. The lower, the smaller the output file (look out for max file sizes!)
My default:-r 15 - make sure you don’t mess with the
sourceanddestinationfile extensions asffmpeguses them to determine the formats it’s dealing with
Thanks to all the proofreaders (y’know who you are) and, again, to Antonio for the original idea of using ffmpeg.